
HP Printer Setup – Quick & Easy Guide
HP printer setup is quick and easy. Just plug in your printer, install the software, and connect to Wi-Fi. Follow the steps to complete your HP printer setup in minutes.

Models

HP OfficeJet Pro 9025e Wireless All-in-One Color Printer With HP+

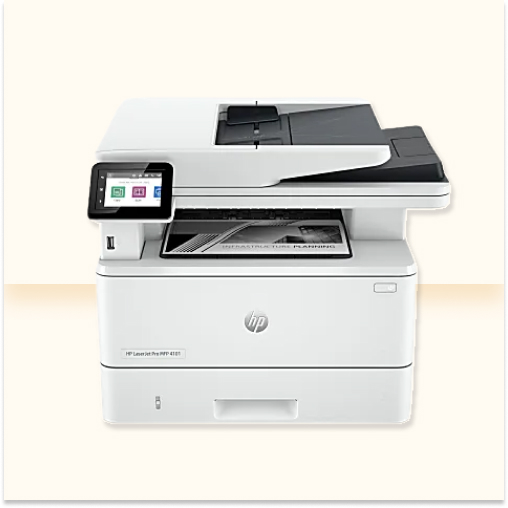
HP LaserJet Pro MFP 4101fdn Laser All-in-One Monochrome Printer

HP LaserJet M209dwe Wireless Laser Monochrome Printer with HP+

HP LaserJet Pro MFP 3101fdw Wireless Laser Printer

HP LaserJet Pro 4001dw Laser Monochrome Printer

HP Smart Tank 5101 Wireless All-in-One Color Printer

HP LaserJet Pro 4001n Laser Monochrome Printer

HP OfficeJet Pro 8025e Wireless All-in-One Color Printer

HP LaserJet Pro M283fdw Wireless Laser All-In-One Color Printer

HP LaserJet Pro MFP 4301fdw All-In-One Laser Color Printer
HP LaserJet Pro MFP 4101fdw Laser All-in-One Monochrome Printer

HP OfficeJet Pro 7740 Wireless Inkjet All-In-One Color Printer
Printer Setup Instruction

1. Unbox Your Printer
Unbox your printer and remove all packaging. Ensure you have all parts. Now, you're ready to start the HP printer setup. Follow the simple steps to connect and install your printer quickly.
2. Place the Printer
Place your HP printer on a flat, stable surface. Make sure it's close to your computer and power source. This will help ensure a smooth and easy HP printer setup process.
3. Power On the Printer
Power on your HP printer by pressing the power button. Wait for it to start up fully. Once ready, proceed with the next steps in your HP printer setup for a smooth experience.

4. Install Ink Cartridges
Open the ink cartridge compartment of your HP printer. Carefully insert the ink cartridges in the correct slots. This is an important step in the HP printer setup process to ensure proper printing.
5. Load Paper
Open the paper tray of your HP printer and load it with the correct paper size. Make sure the paper is aligned properly for a smooth HP printer setup and flawless printing.
6. Connect the Printer
Connect your HP printer to your computer or Wi-Fi network. Follow the on-screen instructions to complete the connection. This step is key for your HP printer setup and ensures smooth printing.

7. Install Printer Drivers
To complete your HP printer setup, install the printer drivers on your computer. Visit the HP website or use the installation CD. This ensures your computer can communicate with your printer for smooth printing and functionality.
8. Test the Printer
Once your HP printer setup is complete, it's time to test the printer. Print a test page to make sure everything is working correctly. This ensures your HP printer is properly connected and ready for use.
Frequently Asked Questions
How do I set up my HP printer?
To set up your HP printer, unbox it, install ink cartridges, load paper, connect it to power, and follow the on-screen instructions to complete the HP printer setup and start printing.
What do I need to do before setting up my HP printer?
Before setting up your HP printer, make sure you have the printer, ink cartridges, paper, and a power source. Also, have your installation CD or download the printer drivers online.
How do I connect my HP printer to Wi-Fi?
During the HP printer setup, select the Wi-Fi network on the printer’s control panel and enter the Wi-Fi password. Follow the instructions to complete the connection.
Can I use my HP printer with multiple devices?
Yes! Once your HP printer setup is complete, you can connect it to multiple devices using Wi-Fi or USB, depending on the printer model and your device setup.
Why isn’t my HP printer connecting to my computer?
If your HP printer isn’t connecting to your computer, ensure both are on the same network. Restart both devices and follow the HP printer setup instructions to resolve connection issues.